The Only Gluten-Free Dairy-Free Bread Recipes You’ll Ever Need
Finding gluten-free dairy-free bread recipes that doesn’t taste like cardboard is tough. Most loaves fall apart, feel dense, or stay gummy inside. Sound familiar? You’re not alone.
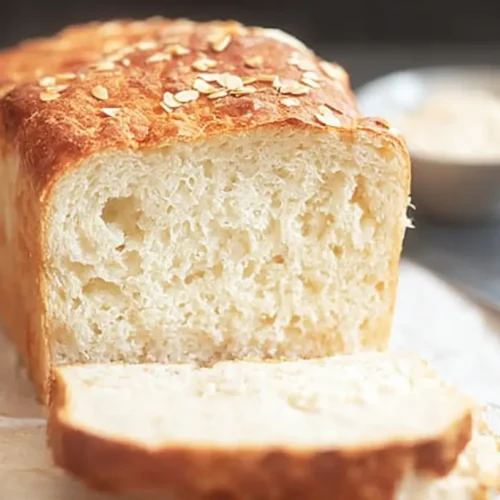
This guide is different. It’s built for people who want soft, fluffy, flexible bread that holds up in a sandwich, toasts beautifully, and doesn’t require a culinary degree. Whether you’re baking for health reasons, food allergies, or personal choice, this recipe is designed to work.
You’ll get a master recipe that covers everything from the perfect dough texture to storage tips. Plus, we’ve included key variations for yeast-free, vegan, and bread machine methods, so you’ll always have an option that fits your kitchen and diet.
Expect full clarity, real troubleshooting advice, and tips you won’t find in a standard recipe card. This is gluten-free dairy-free bread made easy, reliable, and honestly—delicious.
Table of Contents
Table of Contents
Why This Recipe Works
The Science of Great Gluten-Free Dairy-Free Bread
Success in gluten-free dairy-free baking comes down to three essential factors. This recipe nails each one to give you a loaf that’s soft, sliceable, and full of flavor.
High Moisture Content
Gluten-free dough should never look like regular bread dough. Instead, it needs to be wet and sticky like thick cake batter. This extra moisture creates a soft and tender crumb once baked. If you try to make it look like traditional dough, the result will be dry and heavy.
The Right Binder
Without gluten, bread lacks structure. That’s where binders like xanthan gum or psyllium husk come in. They trap air and help the dough hold its shape while rising and baking. This keeps the loaf from falling apart or turning crumbly.
Acid for a Better Rise
Apple cider vinegar plays a small but powerful role. It reacts with baking powder and yeast to boost the rise and improve the internal texture. The result is a bread that’s light but still sturdy enough for slicing.
Each of these elements works together to deliver a consistent, bakery-quality result. This isn’t just another recipe. It’s a formula built for success.
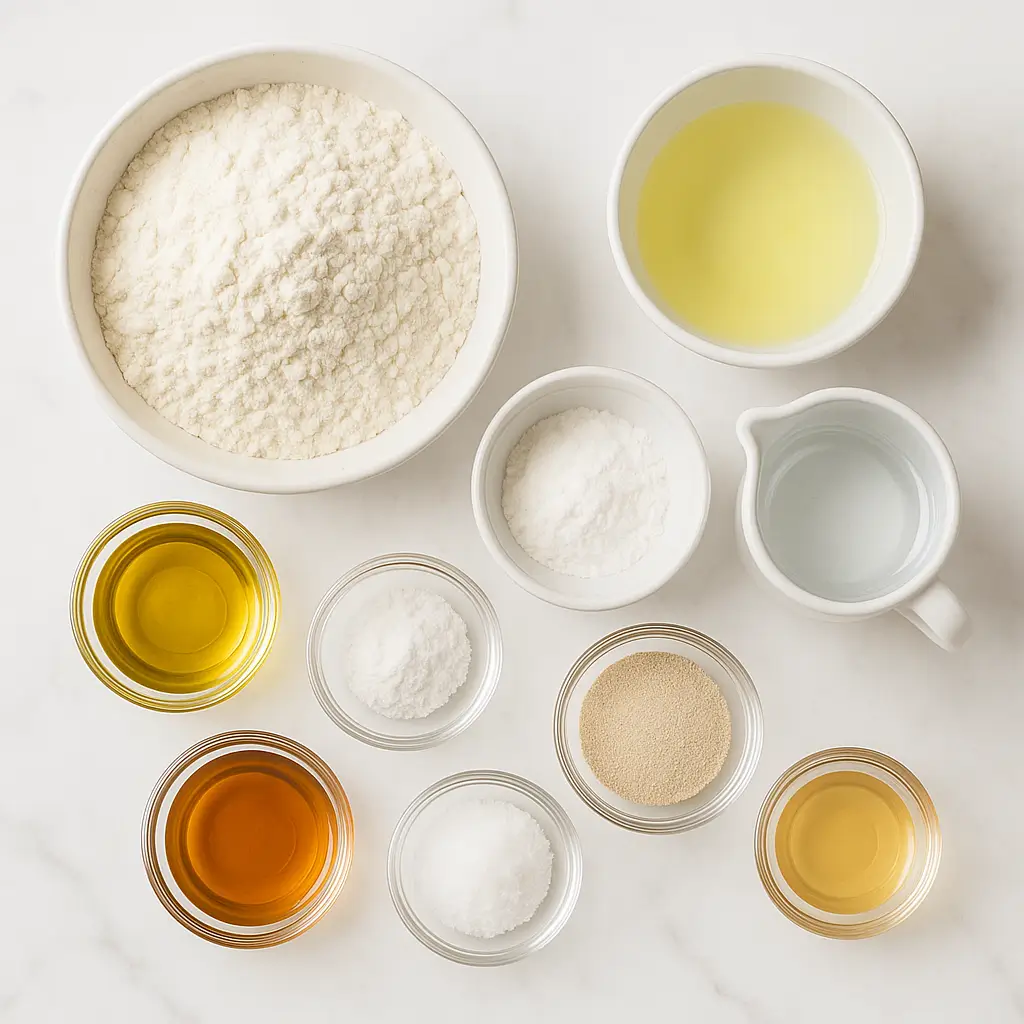
Ingredients Needed
Ingredient Deep Dive: What You Need and Why
This recipe uses a carefully chosen mix of ingredients that work together to give the right texture, rise, and flavor. Here’s what you need and why each item matters.
Gluten-Free Flour Blend
Use 2 and a half cups of a high-quality all-purpose gluten-free flour. Blends like Pillsbury Gluten-Free or King Arthur Measure for Measure are great because they already contain the right mix of rice flour, starches, and gums.
Xanthan Gum or Psyllium Husk
Add 1 teaspoon of xanthan gum if your flour blend doesn’t already include it. This ingredient helps mimic the structure gluten provides, giving the bread flexibility and preventing it from falling apart.
Baking Powder
Use 1 teaspoon of gluten-free baking powder. It supports the yeast and helps give the bread a better rise and lighter texture.
Rapid Rise or Instant Yeast
Use 1 packet which equals 2 and one quarter teaspoons. This yeast works faster and is more reliable in gluten-free recipes than active dry yeast.
Olive Oil
Use one quarter cup of extra virgin olive oil. It adds richness and helps soften the crumb, keeping the bread from drying out.
Sweetener
Use one quarter cup of honey. If you prefer, substitute with agave nectar or maple syrup. This adds mild sweetness and helps with browning.
Apple Cider Vinegar
Use 1 teaspoon. It reacts with the baking powder and yeast to improve the rise and gives the crumb a more tender bite.
Warm Water
Use 1 and a half cups at 100 to 110 degrees Fahrenheit. The right temperature activates the yeast without killing it.
Egg Whites
Use 3 large egg whites at room temperature. They help bind the dough and add lift. If making a vegan version, you’ll use aquafaba or flax egg instead.
Salt
Use 1 teaspoon to balance the flavors and support the overall structure of the loaf.
Every ingredient plays a role. Measuring correctly and using good-quality basics makes a big difference in gluten-free dairy-free baking.
How to Make Gluten-Free Dairy-Free Bread
Step-by-Step Instructions with Photos
This method is built for reliability. Follow each step closely and you’ll get a loaf that’s soft, sturdy, and ready for slicing. Each phase matters, especially when working with gluten-free dough.
Step 1: Proof the Yeast
In a small bowl, combine warm water and honey. Stir until the honey dissolves. Sprinkle the instant yeast over the top and let it sit for 5 to 10 minutes. The mixture should look foamy. If it doesn’t, your yeast might be expired and should be replaced before continuing.
Step 2: Combine Dry Ingredients
In a large mixing bowl, add the gluten-free flour, baking powder, and xanthan gum if using. Stir with a whisk until evenly mixed. This prevents clumps and ensures even rise.
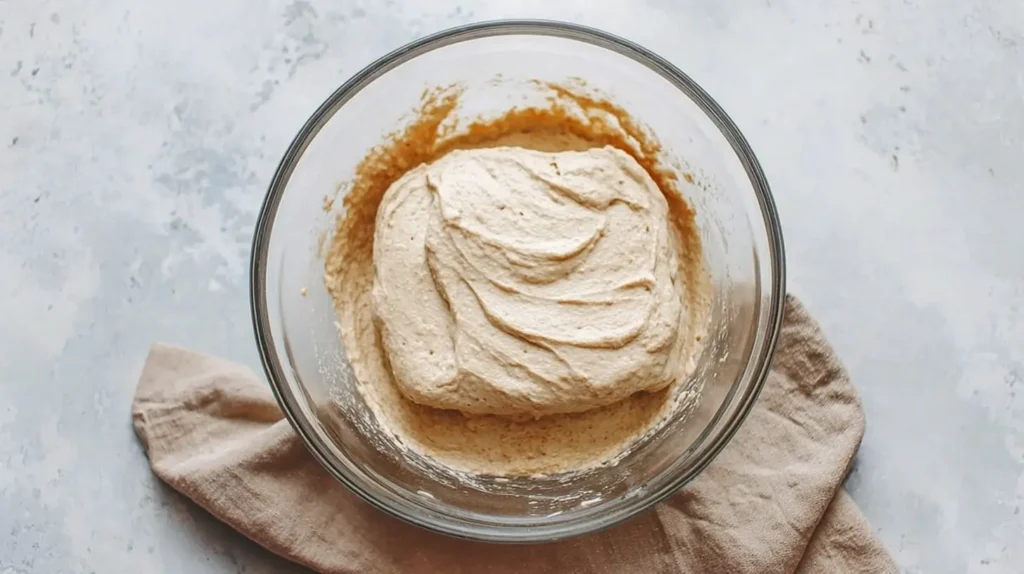
Step 3: Mix the Dough
Add the proofed yeast mixture, olive oil, apple cider vinegar, and egg whites to the dry ingredients. Mix using a stand mixer with the paddle attachment on low speed for one minute. Scrape the sides if needed. Increase to medium speed for another minute. The dough will look like thick cake batter. It should be wet and sticky. Do not add more flour.
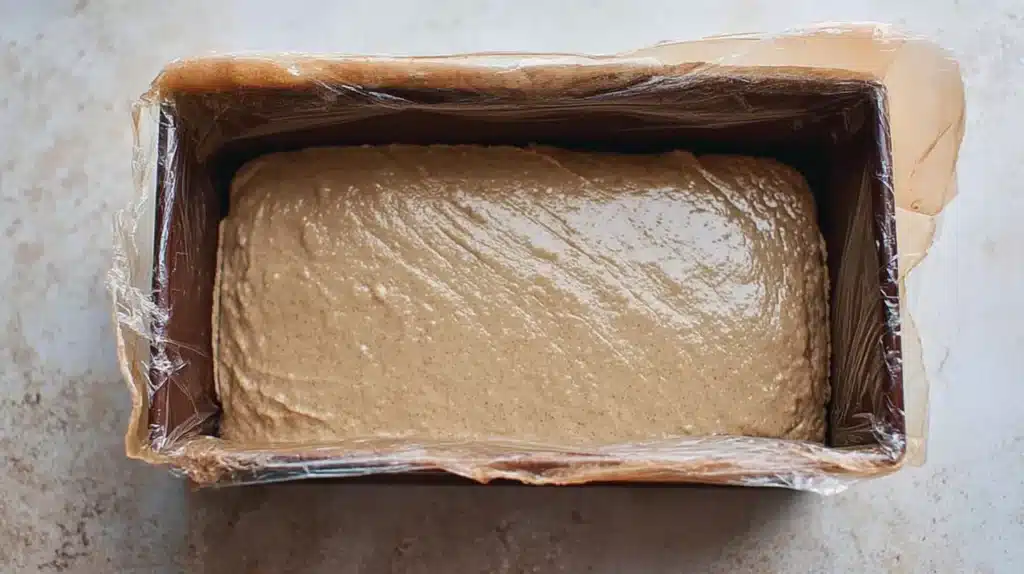
Step 4: First Rise
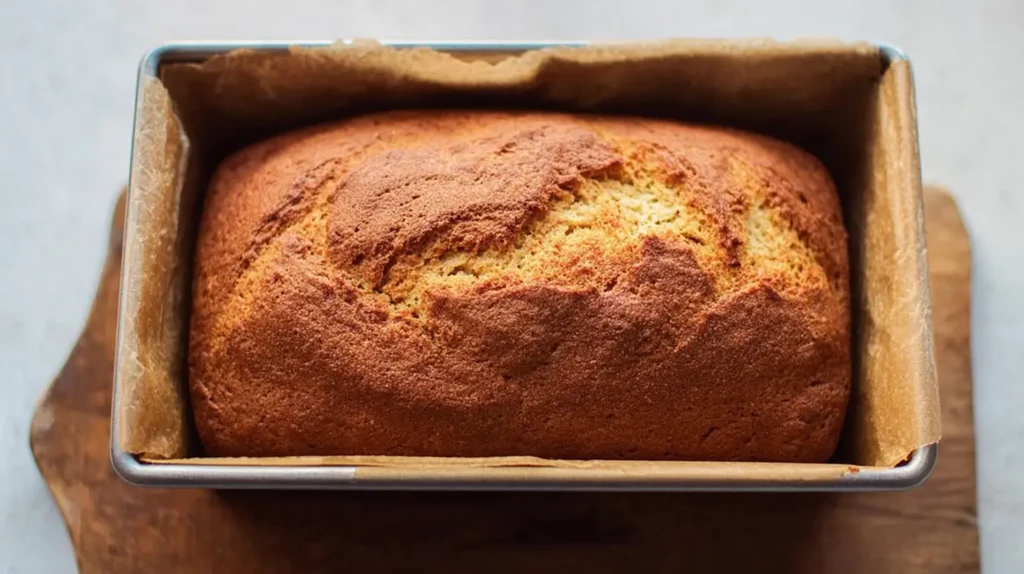
Grease a 9 by 5 inch loaf pan. Pour the dough in and smooth the top with a wet spatula. Lightly spray a piece of plastic wrap with oil and cover the pan. Drape a clean towel over it. Let the dough rise in a warm, draft-free area for 30 to 35 minutes until it rises just above the edge of the pan.
Step 5: Preheat the Oven
Move the top rack to the center position. Preheat the oven to 350 degrees Fahrenheit while the dough completes its rise. This ensures even baking.
Step 6: Bake the Bread
Place the pan on the center rack and bake for 30 minutes. Check that the top is golden brown and the internal temperature reads between 205 and 210 degrees Fahrenheit. If the top browns too quickly, tent with foil halfway through.
Step 7: Cool the Loaf
Remove the bread from the oven and let it rest in the pan for 10 minutes. Then transfer it to a wire rack to cool completely. This takes 2 to 3 hours and is crucial for setting the crumb and avoiding a gummy texture.
Once cool, use a serrated knife to slice. Your bread is now ready to enjoy or store for later use.
Essential Recipe Variations
One Guide, Four Breads
Every baker has different needs. Whether you avoid yeast, eggs, or just want a faster method, these tested variations have you covered. Each one keeps the bread gluten-free and dairy-free while adjusting for different dietary needs or tools.
Yeast-Free Quick Bread Version
This version skips the yeast and rise time, making it perfect for when you need bread fast.Ingredients for Yeast-Free Version
Two and a half cups all-purpose gluten-free flour
One teaspoon xanthan gum if needed
Two teaspoons gluten-free baking powder
Half a teaspoon baking soda
One and a half cups non-dairy milk or water
One quarter cup olive oil
One quarter cup maple syrup or agave
One teaspoon apple cider vinegar
Three egg whites or egg replacer
One teaspoon salt
Instructions
Preheat oven to 350 degrees Fahrenheit. Grease a 9 by 5 inch loaf pan.
Mix all dry ingredients in a large bowl.
In a separate bowl, whisk together the wet ingredients.
Combine the wet and dry ingredients and mix until smooth.
Pour into the pan and bake for 35 to 40 minutes or until a toothpick comes out clean.
Cool completely before slicing.
Egg-Free Vegan Version
For those avoiding eggs, this version uses plant-based binders that still give structure and softness.
Substitutions
Replace the three egg whites with six tablespoons of aquafaba or two flax eggs made with two tablespoons ground flaxseed and six tablespoons water.
Let the flax mixture sit for 10 minutes to thicken before using.
Follow the master recipe steps exactly, swapping in the vegan egg replacer.
Texture Note
The flax version may have a slightly denser texture while the aquafaba keeps the crumb a bit lighter.
Bread Machine Version
Making gluten-free bread in a bread machine is possible with a few tweaks.
Settings and Order
Use the gluten-free setting
Set for a two-pound loaf
Use a medium crust if options are available
Order of Ingredients
Add wet ingredients first including warm water, oil, sweetener, vinegar, and egg whites
Add dry ingredients like flour, baking powder, and salt
Add yeast last on top of the dry layer
Close the lid and let the machine handle the mixing, rising, and baking. Check at the end to make sure internal temperature reaches at least 205 degrees Fahrenheit.
Each variation has been tested to deliver reliable results, no matter your dietary needs or kitchen setup.
Troubleshooting Guide
Solving Common Gluten-Free Bread Problems
Even with a great recipe, things can go wrong. This guide tackles the most common issues home bakers face with gluten-free dairy-free bread and shows how to fix them.

Storing, Freezing, and Reheating Your Bread
Once you’ve baked the perfect loaf, knowing how to store and reheat it correctly will keep it fresh and enjoyable for days.
Storing at Room Temperature
Place the completely cooled loaf in an airtight container or wrap it snugly using food-safe plastic film. Keep it in a cool, dry place for up to two days. Do not refrigerate, as it tends to remove moisture and firm up the bread too much.
Freezing for Longer Shelf Life
Let the loaf cool completely. Use a serrated knife to slice it. Separate each slice with parchment paper to prevent sticking. After slicing the fully cooled loaf, place the individual pieces between parchment sheets to prevent sticking. Transfer them into a freezer-safe zip bag, press out the air carefully, and lay it flat before freezing. You can store it this way for up to three months.
Reheating and Refreshing Slices
To revive texture, pop a frozen or stored slice directly into a toaster. For thicker slices, use a toaster oven or warm gently in a skillet with a lid to trap steam. Avoid microwaving which can make the bread rubbery.
Proper storage and reheating protect the effort you put into baking. Follow these steps to enjoy every slice at its best.
Gluten-Free Dairy-Free Sandwich Bread
Ingredients
Main
- 2.5 cups gluten-free all-purpose flour blend e.g., King Arthur or Pillsbury
- 1 tsp xanthan gum omit if already included in flour blend
- 1 tsp gluten-free baking powder
- 2.25 tsp instant yeast or 1 packet
- 1/4 cup extra virgin olive oil
- 1/4 cup honey or maple syrup/agave for vegan option
- 1 tsp apple cider vinegar
- 1.5 cups warm water 100–110°F
- 3 large egg whites room temperature
- 1 tsp salt
Instructions
- In a small bowl, combine warm water and honey. Stir to dissolve, then sprinkle yeast on top. Let sit 5–10 minutes until foamy.
- In a large bowl, whisk together gluten-free flour, baking powder, and xanthan gum (if using).
- Add yeast mixture, olive oil, vinegar, and egg whites to dry mix. Use a stand mixer with paddle attachment. Mix on low 1 min, scrape down, then mix on medium for 1 more minute until thick batter forms.
- Grease a 9×5 loaf pan. Pour dough in and smooth top with wet spatula. Cover with oiled plastic wrap and towel. Let rise 30–35 min in warm place until slightly above pan edge.
- While rising, preheat oven to 350°F (175°C), center rack.
- Bake 30 minutes or until golden and internal temp is 205–210°F (96–99°C). Tent with foil if top browns too fast.
- Cool in pan 10 minutes, then transfer to wire rack. Let cool 2–3 hours before slicing with serrated knife.
Notes
Conclusion
You no longer have to settle for dense, crumbly, or flavorless bread. This gluten-free dairy-free bread recipe gives you the structure, softness, and flavor you’ve been looking for. Whether you bake the classic version or try one of the variations, the results will speak for themselves.
This guide was built to solve your baking problems with clear steps and real solutions. From understanding ingredients to fixing common issues, you’re now equipped with everything you need to bake a loaf that rivals traditional bread in both taste and texture.
Have you tried this recipe? Leave a rating and a comment below. I’d love to hear which flour blend you used and how your loaf turned out.
Don’t forget to share your results on Pinterest . Tag your photos and show off your gluten-free dairy-free bread success.
Frequently Asked Questions
These are the most common questions people ask about gluten-free dairy-free bread. Clear answers help you bake with more confidence and avoid common mistakes.
What is the trick to making good gluten-free bread?
The secret is using high moisture dough and the right binders like xanthan gum or psyllium husk. Unlike traditional bread, gluten-free dough should feel more like thick cake batter. Also, make sure your yeast is active and allow enough time for a proper rise.
What is the biggest challenge of making gluten-free bread?
The hardest part is getting the right texture. Without gluten, bread often turns out gummy or crumbly. This recipe avoids that by balancing moisture, using binders, and providing a clear baking process to give structure and softness.
Why put vinegar in gluten-free bread?
Apple cider vinegar reacts with the leavening agents to help the bread rise better. It also strengthens the dough structure and results in a softer, more tender crumb.
What bread is gluten and dairy free?
This recipe gives you several options including sandwich bread, quick bread, and a bread machine version. All use gluten-free flour and non-dairy ingredients, making them safe for those with gluten or dairy restrictions.
What flour is gluten-free and dairy free?
Most gluten-free flour blends are also dairy free. Brands like King Arthur, Pillsbury, and Bob’s Red Mill 1-to-1 are safe choices. Always check labels to confirm there are no hidden dairy ingredients.
What is the best yeast for gluten-free bread?
Instant or rapid-rise yeast works best because it activates quickly and delivers a better rise in gluten-free dough. It is more predictable and requires no proofing.
Is sourdough bread gluten-free?
Traditional sourdough made with wheat flour is not gluten-free. However, gluten-free sourdough versions do exist using gluten-free starter and flour blends. If buying sourdough, always check that it’s labeled certified gluten-free.
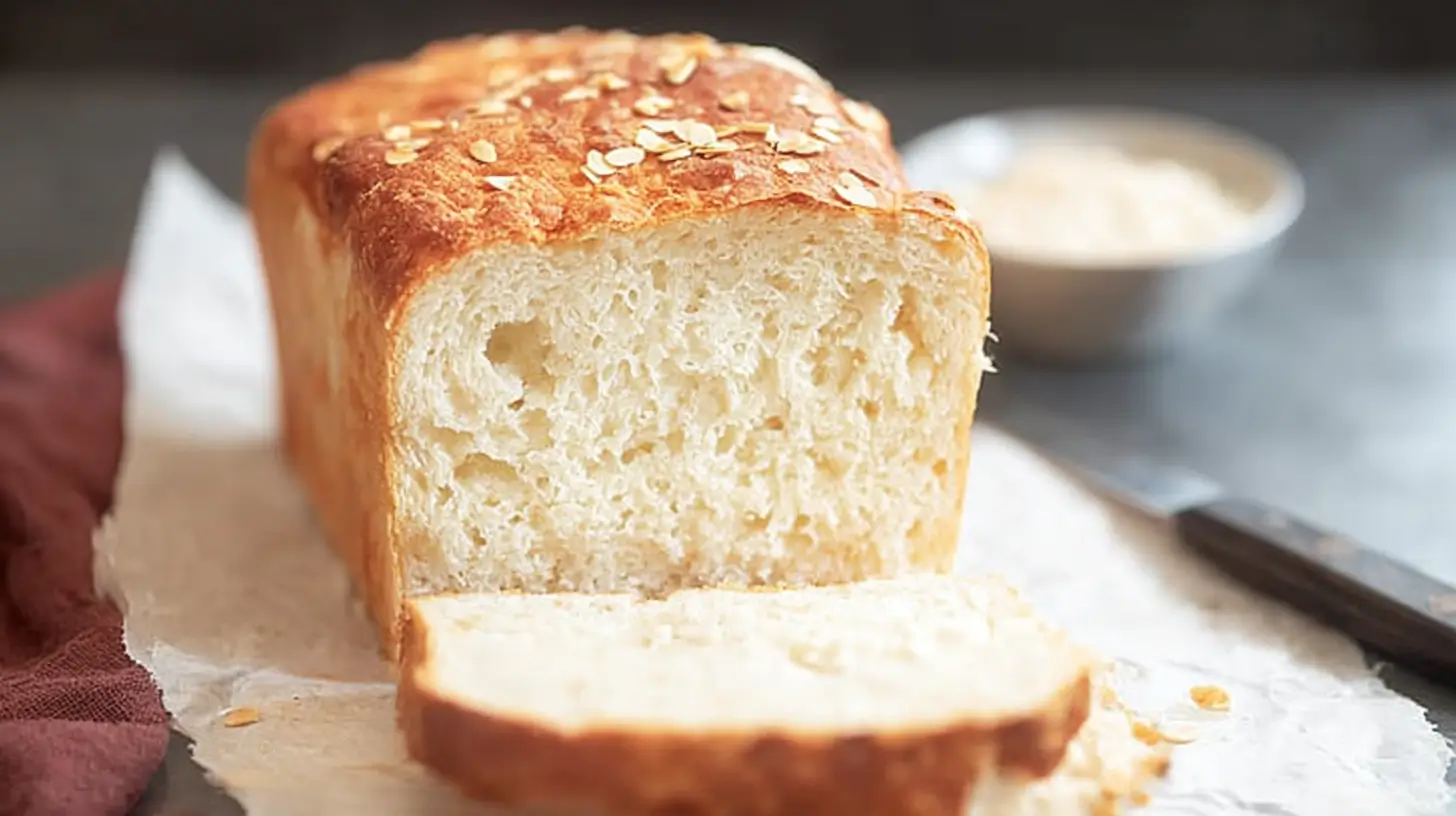
Gluten-Free Dairy-Free Sandwich Bread
A soft, fluffy gluten-free and dairy-free bread perfect for sandwiches or toasting. Reliable texture, simple ingredients, and easy steps for consistently great results.